


Aoocci Moto Quick Release Support - CarPlay Removable Quick Attachment
Livraison Gratuite, Sans Taxes
Expédié sous 24-48h
Essai 60 Jours + M.À.J Gratuites
Garantie de 1 An Incluse
Aoocci Moto Quick Release Support - CarPlay Removable Quick Attachment
| Article | Technical Specifications |
|---|---|
| Material | Aluminum Alloy |
| Total Weight | 53.7g |
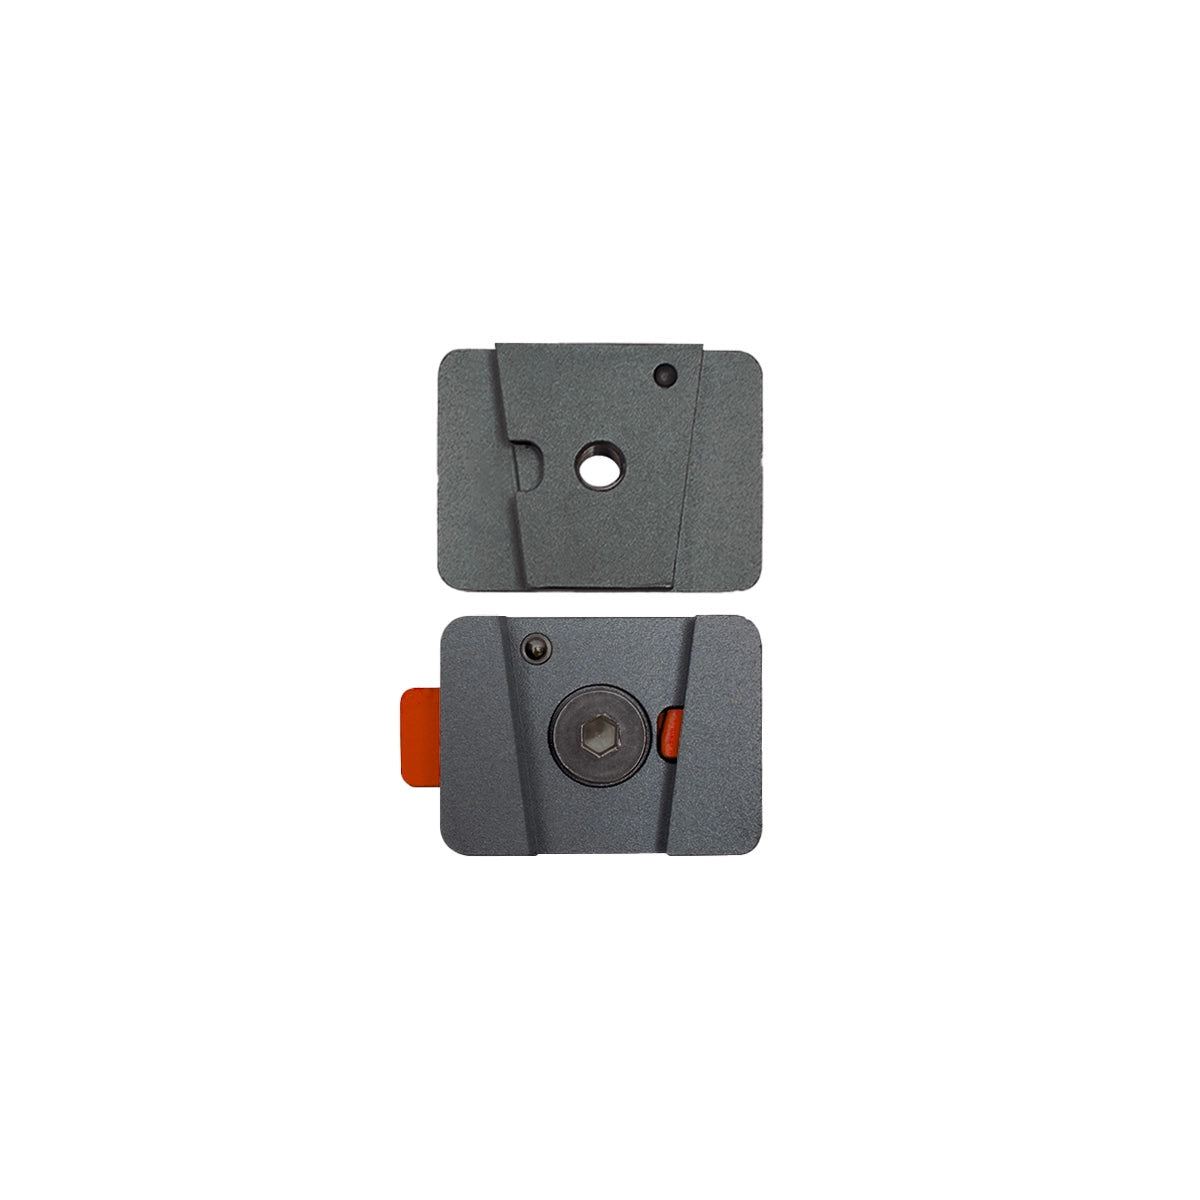
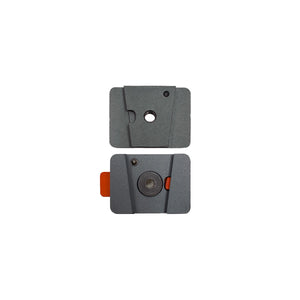
| Package Contents | Quick-Detach Top Base ×1 Quick-Release Lower Base ×1 Hexagonal screw ×1 |
| Upper Base | Weight: 35.5g Dimensions: 40mm × 30mm Thickness: 10.6mm – 14.9mm Button Extension: 12.8mm × 5.6mm × 2.9mm |
| Lower Base | Weight: 15.3g Dimensions: 40mm × 30mm Thickness: 3mm – 8.8mm |
| Hexagonal screw | Length: 13mm Head Diameter: 12mm Thread Size: M6 |
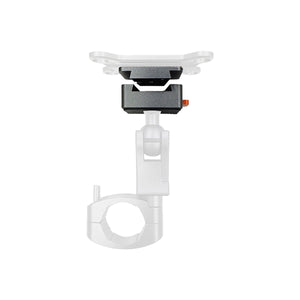
| Key Strengths | CNC metal machining for precision fitting. Durable and easy to install/remove. Ideal for mounting motorcycle cameras on handlebars. |
How to Remove the Ball Joint and Replace it with a Quick Release Mount
If you need to remove the ball joint and the damping base, please follow the steps below:
Ball joint removal:
- The ball joint and damping base are pre-installed and secured with thread-locking glue, making them very tight.
- If you try to unscrew them by hand or with an ordinary wrench, it might not work easily.
- Thread adhesive must be heated to soften before removal.
Steps:
- First, remove the ball joint support from the base.
- Wrap a dry towel around the kneecap or wear heat-resistant gloves to hold it.
- Use a heat gun or lighter to heat the screw that connects the ball joint to the damping base.
- After heating for a while, use a hex key to unscrew the bolt.
Installation of the Quick Release Bracket:
Once you have separated the ball joint and the damping base:
- Loosen the screws on the quick-release bracket.
- Attach the thinnest part of the quick-release unit to the base using the screws.
- Attach the thicker part to the ball joint and the body of the support.
- After assembly, align the two parts of the quick-release bracket on the same plane and slide them together horizontally to complete the installation.
To remove the quick-release bracket:
- Press and hold the red button, then slide the two parts in opposite directions along the same plane.